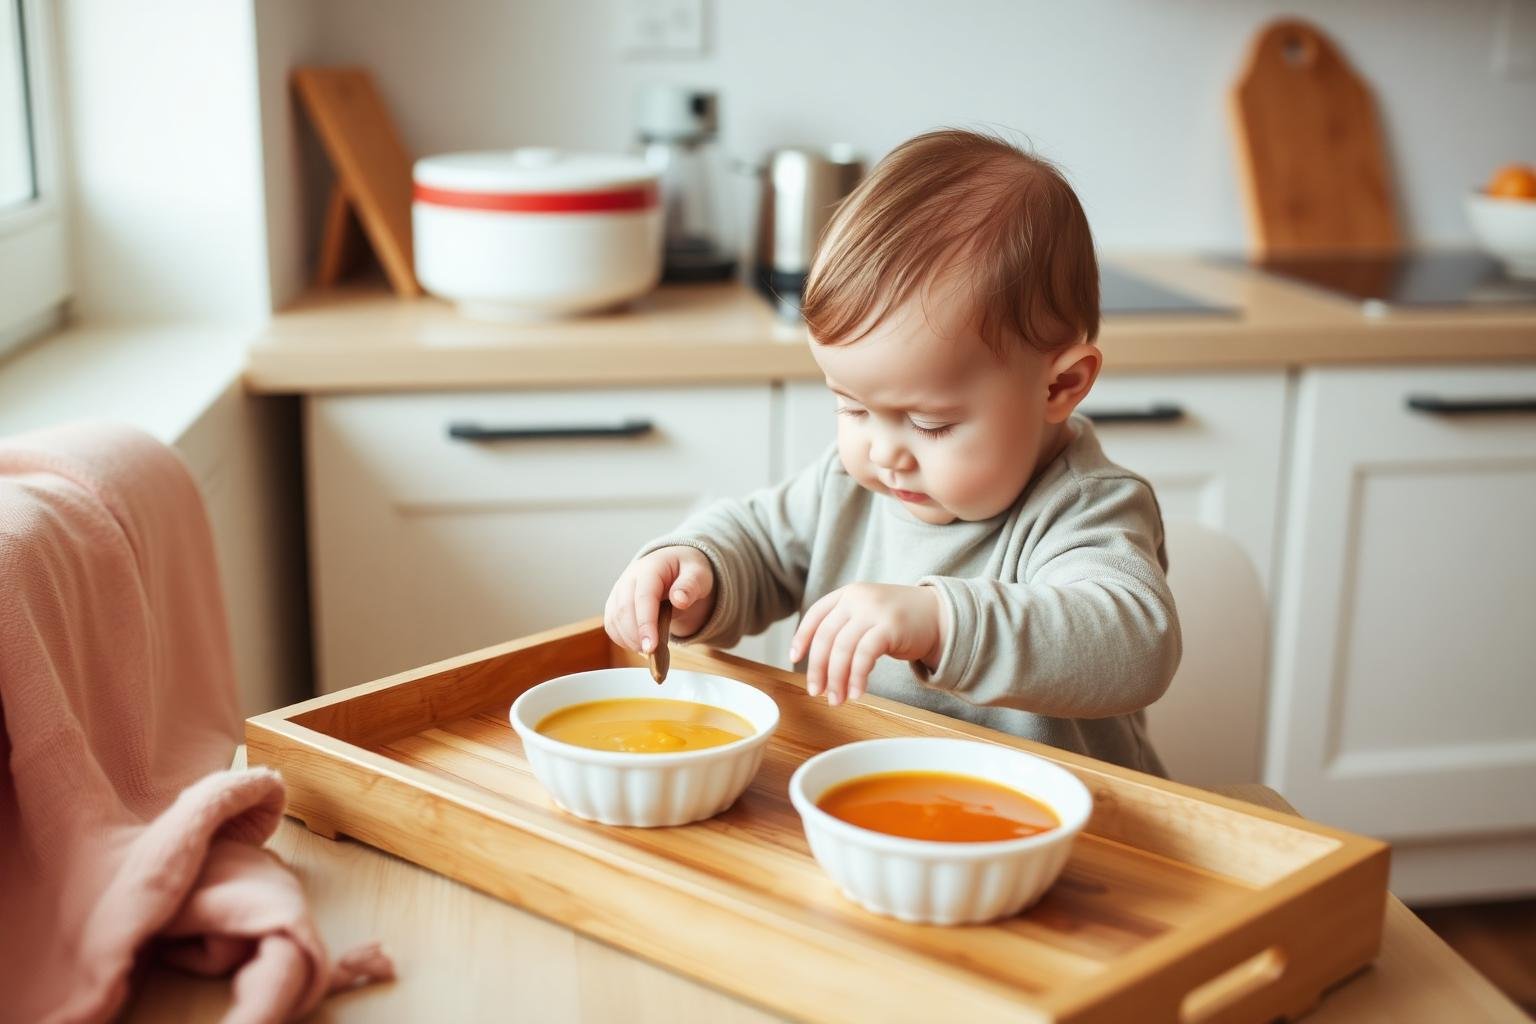
Introducing Solid Foods: A Step-by-Step Guide (6+ Months)
Medically reviewed by Dr. Ahmad Raza, MD (Pediatrics) — ChildBloom Medical Review Panel. Last updated: September 27, 2026.
Affiliate disclosure: ChildBloom may earn a commission from qualifying purchases made through links on this page. It never changes which products our pediatric reviewers recommend. As an Amazon Associate, we earn from qualifying purchases.
Starting solids looks simple on paper and feels anything but in real life. This step-by-step guide to introducing solid foods follows the way a pediatrician would walk you through it: readiness signs first, then which foods to offer, how to pace new flavors, when to bring in allergens, and how to move textures week by week. It all tracks current AAP and CDC advice — no fads, no pressure, just a plan that works on a Tuesday night with a hungry baby in the high chair.
📋 TL;DR
- Wait for readiness signs — most babies are ready around 6 months, not before
- First foods are iron-rich: fortified cereal, pureed meat, or lentils
- Bring allergens in early — peanut and egg around 6 months (4-6 months for high-risk babies, with the pediatrician’s plan)
- Move textures over 4-6 months: thin purees, thicker mashes, soft finger foods, minced family meals
- One new food at a time, 3-5 days apart, so reactions are easy to spot
- Follow fullness cues and never pressure — turning away and closed mouths mean “done”
👩⚕️ Doctor’s Take
“Starting solids is a journey, not a race. Your baby may love a food one day and refuse it the next — that is completely normal. The most important thing is to offer a variety of nutrient-dense foods, stay patient, and make mealtimes positive. The research is clear: pressure-free, responsive feeding builds healthy eaters for life.” — Dr. Zoya Arshad, MD, FAAP
Before You Start: A Simple Readiness Checklist
Skip the calendar and watch your baby instead. Most babies tick every box here by around 6 months:
- ✅ Sits in a high chair with only a little support
- ✅ Holds their head steady on their own
- ✅ The tongue-thrust reflex has faded — food is no longer automatically pushed back out
- ✅ Leans in, watches you eat, or reaches for your plate
- ✅ Turns away or slumps back when they have had enough
- ✅ Your pediatrician gives the green light
If a sign or two is missing, wait a week or two and look again. Starting early speeds nothing up — it only makes gagging, fussing, and mealtime standoffs more likely.
Step 1: Choose Your First Foods (Weeks 1-2)
Lead with single-ingredient, iron-rich foods. Birth iron stores thin out by 4-6 months, which is exactly why iron comes first — not because vegetables and fruits do not matter, but because iron is the nutrient in shortest supply. These are the strongest openers:
Iron-Fortified Infant Cereal
Stir 1 tablespoon of iron-fortified single-grain cereal — oat or barley, with rice cereal kept occasional because of arsenic concerns — into 4-5 tablespoons of breast milk, formula, or water. Aim for a runny-yogurt consistency. Start with 1-2 teaspoons once daily after a milk feed, when baby is calm but not starving, and thicken the mix a little over the first week.
Pureed Meat or Poultry
Cook chicken, turkey, beef, or lamb all the way through, then blend it smooth with a splash of water, breast milk, or formula. Meat supplies heme iron, which the body absorbs two to three times more efficiently than the iron in plant foods. One or two teaspoons is plenty to begin.
Pureed Beans and Lentils
Simmer red lentils, chickpeas, or black beans until very soft and puree them with their cooking water. They deliver iron, protein, and fiber together, and they are an easy anchor for vegetarian families.
Single-Vegetable Purees
Sweet potato, carrot, peas, squash, and zucchini all work as first vegetables. Steam or roast until soft, then blend smooth — no salt, sugar, or seasoning. Plain food is not punishment; it is how baby learns what real food tastes like.
Single-Fruit Purees
Avocado mashed with a fork, banana, steamed pear, or cooked apple are gentle first fruits. Avocado earns extra points for the healthy fats that support brain development. Fruit tastes sweeter than vegetables, so many parents offer it second rather than first.
Step 2: One New Food at a Time
Offer one new single-ingredient food, then hold for 3-5 days before the next. That pause is your early-warning system: if a rash or upset tummy appears, you will know which food did it. Jot down the date, the food, and anything unusual in a notes app or on the fridge. After 10-15 accepted foods, feel free to mix — sweet potato with chicken, pear with oat cereal, and so on.
Step 3: Introduce Common Allergens Early
Peanut, egg, and friends belong on the menu early — around 6 months, once a few plain foods have gone down well. The AAP’s advice comes straight from the LEAP trial: high-risk infants who ate peanut foods regularly from infancy were more than 80% less likely to develop peanut allergy. Delaying does not protect; in high-risk babies it can backfire. If your baby has severe eczema, an egg allergy, or a strong family history of food allergy, plan the first allergen feeding with your pediatrician — between 4-6 months, sometimes in the office where help is right there.
Peanut: Stir 2 teaspoons of smooth peanut butter into 2-3 tablespoons of warm water or breast milk until thin, and start with ¼ teaspoon. Peanut puffs that dissolve in milk are another easy route. Whole peanuts are never an option — they are a choking hazard.
Egg: Cook until the yolk and white are fully set. Mash a little of each separately or offer a small piece of scrambled egg, starting with a pea-sized bite.
Fish: Choose a mild, low-mercury fish like salmon or cod, cook until flaky, and mash a pea-sized amount into a smooth paste.
Soy, wheat, tree-nut butters, and sesame: Introduce them one at a time under the same 3-5 day rule. Thin nut butters with water to prevent choking; for wheat, try well-cooked pasta or bread softened in milk.
Step 4: Texture Progression, Step by Step
Here is the week-by-week arc for most families. Treat it as a map, not a deadline — your baby sets the pace.
Weeks 1-4: Thin Purees
Runny-yogurt consistency, 1-2 teaspoons to start and up to 2-3 tablespoons once accepted. Offer solids after a milk feed so nobody is too hungry to learn. A soft-tipped spoon — and baby’s own hands — are both fair game.
Weeks 5-8: Thicker Mashes
Thicken toward oatmeal or thick-yogurt texture and move to about 2 meals of 3-4 tablespoons each. Combine flavors now: chicken and sweet potato, oatmeal and pear. Fork-mashing instead of blending introduces small, soft lumps at baby’s own pace.
Weeks 9-16: Soft Finger Foods
Once the pincer grip arrives, offer grabbable, dissolvable foods: steamed carrot sticks squishable between your fingers, banana and avocado spears, soft pasta, small cheese cubes, scrambled egg pieces. Aim for 3 meals plus a snack, roughly 4-6 tablespoons per meal.
Weeks 17-24: Minced Family Foods
By 10-12 months, baby eats minced versions of what everyone else eats, with salt and heavy spice left out of their portion. Three meals and two snacks is typical, with milk feeds tapering as solids expand.
Sample First-Month Meal Plan
A realistic four-week arc for your first month of solids:
Week 1: Days 1-3, thin oat cereal only. Days 4-5, add sweet potato and watch for 3 days. Days 6-7, add pureed chicken or avocado.
Week 2: Rotate the accepted foods, add pear or banana, and try a second meal at lunch if baby leans in.
Week 3: Add lentils or beans, steady breakfast and lunch, and put a sippy cup of water on the tray for practice.
Week 4: Add thoroughly cooked scrambled egg. By month’s end, baby has met 8-12 single foods.
Feeding Safety: The Rules That Matter
- Stay within arm’s reach: Never leave a baby alone while they are eating — not for the phone, not for the door.
- Keep them upright: Feed in a supported high-chair position, never reclined or lying flat.
- Know gagging from choking: Gagging is noisy and pink; choking is silent. Take an infant CPR and choking-rescue course before the first spoonful.
- Cut food to safe shapes: Quarter grapes lengthwise, split hot dogs lengthwise, and serve finger foods as strips about as wide as two adult fingers pressed together.
- No honey before 12 months: It can carry Clostridium botulinum spores, which cause infant botulism.
- Skip added salt, sugar, and sweeteners: Baby’s kidneys are not built for extra sodium, and early sweet tastes shape later preferences.
Introducing Solids Step by Step: The Short Version
If you remember nothing else: watch for readiness, begin around 6 months with iron-rich single foods, wait 3-5 days between new foods, bring allergens in early, thicken textures gradually, and keep mealtimes calm. Consistency beats perfection — small, steady steps are what carry your baby from first teaspoon to family plate.
Common Mistakes to Avoid
- Starting because the calendar says 6 months, not because baby shows readiness signs
- Delaying peanut and egg “just in case” — in high-risk babies, waiting is the riskier move
- Offering several new foods in one day, so a reaction has no obvious cause
- Turning meals into negotiations — pressure and “just one more bite” usually backfire
- Salting food or sweetening it with honey before the first birthday
- Staying on perfectly smooth purees too long — chewing practice needs lumps eventually
Troubleshooting Common Challenges
“My baby refuses everything”
Very common, and rarely a crisis. Double-check the readiness signs, shift solids to a calmer time of day, and model the food yourself — babies read faces more carefully than menus. If refusal lasts beyond 2-3 weeks, or wet diapers slow down, call your pediatrician.
“My baby spits out every lump”
Texture sensitivity is real but fixable. Try the vanishing-lump trick: start smooth, drop in two or three tiny soft lumps, and increase them slowly over days. Keep finger foods available alongside purees so baby can explore texture on their own terms. Most babies come around within a few weeks of low-pressure exposure.
“I’m terrified of choking”
Reasonable — and curable. Learn the difference between gagging (loud, productive, pink baby) and choking (silent), take a CPR course online through the Red Cross or American Heart Association, and start with the easiest textures. Confidence grows with preparation more than with avoidance.
What solid food should I start with?
How do I introduce peanut safely?
Should I do baby-led weaning or purees?
How do I know my baby is full?
When can I give my baby water?
Related ChildBloom Guides
- Introducing Solids at 6 Months: Readiness Guide
- Best First Foods: Iron-Rich Picks for Babies
- Iron-Rich First Foods: A Complete Guide
- Baby-Led Weaning vs Purees: Which Is Right for You?
- Baby-Led Weaning Safety Rules
- 6-Month Feeding Schedule
- Picky Eating Prevention: 6-12 Months
- When Can Babies Drink Water? Hydration Rules for Under 6 Months
- Foods to Avoid Before 12 Months: A Parent’s Safety Guide
- Newborn Hunger and Fullness Cues: A Complete Guide
- Best Anti-Colic Bottles for Newborns: Pediatrician Picks
- More Feeding guides from our pediatric team
- Pediatrician’s Corner: evidence-based parenting answers
References and further reading
- CDC infant and toddler nutrition
- AAP policy: breastfeeding and use of human milk
- AAP clinical report: early introduction of peanut-based foods
- FDA: infant formula guidance for parents
Medical disclaimer
This article is general information, not individual medical advice. Every baby is different — talk with your own pediatrician about your child’s feeding, growth, and development, and seek urgent care for breathing difficulty, poor feeding, dehydration, fever in an infant under 3 months, or any sudden change in your baby’s condition.






16 Comments