How to Sterilize Baby Bottles: 3 Easy Methods (2026 Guide)
Medically reviewed by Dr. Ahmad Raza, MD (Pediatrics) — ChildBloom Medical Review Panel. Last updated: September 27, 2026.
Editorial & affiliate disclosure: our guidance is written and reviewed by clinicians. ChildBloom may earn a commission from qualifying purchases made through links on this page, which never changes what our pediatric reviewers recommend. As an Amazon Associate, we earn from qualifying purchases.
How to sterilize baby bottles safely at home: boiling, steam, and cold-water methods explained by a pediatrician. Fast, easy, and CDC-aligned.
📋 TL;DR — if you read nothing else
Short answer: Sterilize for the first 3–4 months, then thorough hot, soapy washing is sufficient for healthy, full-term babies. Premature or medically fragile babies: keep going until your pediatrician says otherwise.
- Easiest methods: boil 5 minutes (no equipment), electric steam 8–12 minutes, or cold-water tablets for travel; dishwasher sanitize cycles work if they reach at least 150°F.
- Between sterilizations: rinse immediately, disassemble everything, wash with a dedicated bottle brush, and air dry completely — bacteria thrive in moisture.
- Don’t: microwave without a sterilizer, assemble wet bottles, touch sterile parts with bare hands, or use expired sterilizing solution.
- Replace: bottle brushes every 2–3 months, or sooner if frayed or smelly.
Sterilizing baby bottles is one of the most common questions new parents ask. As a pediatrician, I want to give you clear, practical guidance on when sterilization is necessary, how to do it, and when you can stop.
Sterilize for the first 3–4 months, then hot, soapy washing is sufficient for healthy, full-term babies. The quickest paths: boil for 5 minutes, run an electric steam cycle (8–12 minutes), or soak in cold-water tablets. Whatever the method — dry bottles fully before reassembling, and wash thoroughly between sterilizations.
Do You Need to Sterilize Baby Bottles?
The short answer: yes, for the first 3-4 months, then it’s optional. Newborns have immature immune systems and are more vulnerable to infections. The organisms that cause most foodborne illnesses (salmonella, listeria, E. coli) can grow in residual milk in bottles. Sterilization kills these organisms. After 3-4 months, your baby’s immune system is stronger, and thorough washing with hot, soapy water is sufficient for healthy, full-term babies. Premature babies or those with medical conditions may need longer sterilization — follow your pediatrician’s guidance.
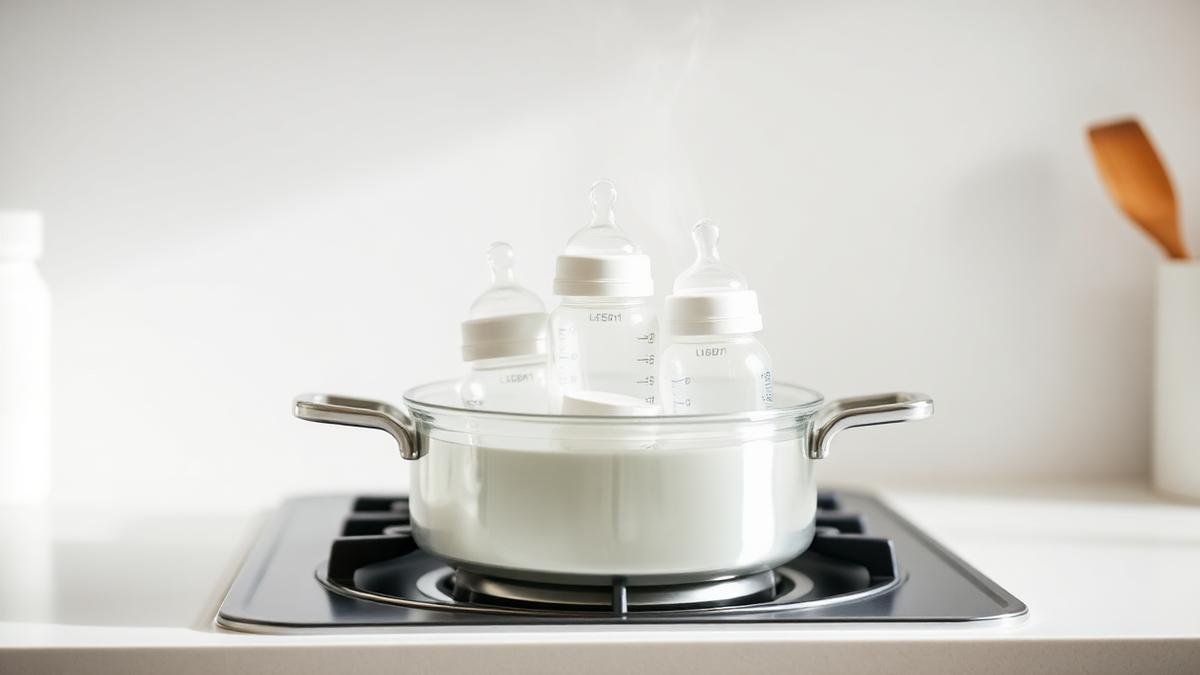
Method 1: Boiling (Most Common, Most Effective)
- Wash bottles, nipples, and rings in hot, soapy water first
- Place all parts in a large pot of water, fully submerged
- Bring to a rolling boil and boil for 5 minutes (set a timer — longer boiling can damage plastic)
- Turn off heat and let cool in the pot
- Remove with clean tongs and air dry on a clean towel
- Store assembled bottles in a clean, covered container
Boiling is simple, effective, and requires no special equipment. Note that plastic bottles can warp over time with repeated boiling. Glass bottles are more durable for boiling.
Method 2: Steam Sterilizers (Electric)
Electric steam sterilizers are convenient and fast — most cycles take 8-12 minutes. Simply place clean bottles upside down in the sterilizer, add the recommended amount of water, and press start. The steam reaches 212°F (100°C) and kills 99.9% of bacteria. The bottles remain sterile inside the closed sterilizer for up to 24 hours. Electric sterilizers are ideal for parents who bottle-feed regularly and want convenience. They work for plastic, glass, and silicone bottles.
Method 3: Microwave Steam Sterilizers
Microwave sterilizers are compact and work in 3-5 minutes. Place clean bottles in the sterilizer with water, microwave on high, and let cool before removing. They’re less expensive than electric models and work well for travel, though some microwaves may not heat evenly — you need to ensure the sterilizer doesn’t touch the microwave walls. Always follow the manufacturer’s instructions carefully.
Method 4: Cold Water Sterilization (Tablets)
Dissolve a sterilizing tablet (like Milton) in cold water and soak bottles for the recommended time (usually 15-30 minutes). No heat required. This is excellent for travel and doesn’t damage bottles. Rinse bottles with cooled boiled water before use (some babies dislike the taste of the sterilizing solution). The solution can be reused for 24 hours.
Method 5: Dishwasher Sterilization
Many modern dishwashers have a “sterilize” or “sanitize” cycle that reaches high enough temperatures to kill bacteria. Place bottles upside down on the top rack (away from the heating element). This is the most hands-off method — wash and sterilize in one step — though high heat can damage plastic bottles over time, and not all dishwasher cycles reach sufficient temperatures. Check your dishwasher’s manual for the sterilize cycle temperature (should reach at least 150°F).
Breast Pump Parts: Special Considerations
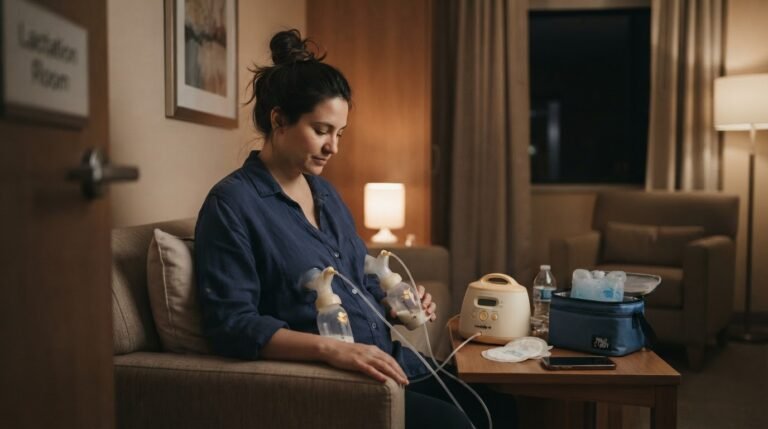
Breast pump parts need sterilization after the first use and then after daily use. Between uses, rinsing and storing in the refrigerator for 24 hours is acceptable. For premature or medically fragile infants, sterilize pump parts after every use. Replace pump tubing if it gets moldy or moisture accumulates inside.
When to Stop Sterilizing
For healthy, full-term babies: stop sterilizing at 3-4 months. At this point, thorough washing with hot, soapy water and air drying is sufficient. Your baby is exposed to far more bacteria from their environment than from bottles. For premature babies or those with medical conditions: continue sterilizing until your pediatrician advises otherwise. After 12 months, standard dishwasher or hand washing is adequate for everyone.
Bottle Cleaning Between Sterilizations
Between sterilizations, clean bottles thoroughly: rinse immediately after use, disassemble all parts, wash in hot, soapy water with a clean bottle brush (dedicated to bottles only), rinse thoroughly in hot water, and air dry on a clean rack. Never use the same sponge you use for dishes — it harbors bacteria. Replace bottle brushes monthly.
Frequently Asked Questions
Can I sterilize bottles in the microwave without a sterilizer? Not recommended — boiling water in the microwave can superheat and cause burns. Use a microwave sterilizer or boil on the stove.
Do I need to sterilize new bottles before first use? Yes — always sterilize new bottles before the first use to remove any manufacturing residues and bacteria.
Can I store sterilized bottles? Yes — fully assembled, dry bottles stored in a clean, covered container remain sterile for up to 24 hours. After that, wash and re-sterilize before use.
Bottle Drying: An Important Step
After sterilizing, your bottles need to dry completely before assembly and storage. Bacteria thrive in moisture, so wet bottles can recontaminate even after sterilization. The best drying methods: air dry on a clean, dedicated drying rack (not the same rack used for regular dishes), use a bottle drying tree with pegs for inverted drying, or dry with a clean, dedicated bottle-drying cloth (change daily). Never dry bottles with dish towels used for other purposes — they harbor bacteria. Fully dry bottles before assembling and storing. Assembling wet bottles creates a moist environment where bacteria can multiply.
Sterilizing During Travel
Travel presents unique challenges for bottle sterilization. Options include: cold water sterilization tablets (Milton, similar brands) — dissolve in cold water, soak 15-30 minutes, no heat or electricity needed; portable steam sterilizer (microwave or electric, small enough for travel); boiling in a hotel kettle or pot (if available — ensure the vessel is clean); or dishwasher with sanitize cycle (if staying somewhere with a dishwasher). For short trips (1-2 days), you can pre-sterilize bottles at home and carry them in a clean, sealed container. For longer trips, cold water tablets are the most portable and reliable method.
The Science of Sterilization: What Kills What
Understanding what you’re sterilizing against can help you choose the right method. Common pathogens in infant feeding equipment include: Cronobacter sakazakii (powdered formula contaminant — can cause serious infection in newborns), E. coli (from contaminated water or handling), Salmonella (from raw eggs or contaminated surfaces), and Staphylococcus aureus (from human hands). These organisms are killed at temperatures above 160°F (71°C). Boiling (212°F/100°C) and steam (212°F/100°C) both exceed this threshold. Cold water sterilization uses chlorine-based compounds (sodium hypochlorite) to kill the same organisms without heat. Dishwasher sanitize cycles typically reach 150-165°F — effective but may need a longer cycle for full sterilization.
The Bottom Line
Sterilizing bottles for the first 3-4 months is an important step in protecting your newborn from infection. Choose the method that fits your lifestyle — boiling for simplicity, electric steam for convenience, or cold water tablets for travel. After 3-4 months, thorough washing with hot, soapy water is sufficient for healthy babies. Clean bottles are important, but they don’t need to be surgically sterile. Focus on good hygiene without obsessing over perfection.
Common Sterilization Mistakes
Even well-intentioned parents make these sterilization mistakes: not disassembling bottles before sterilizing (air gets trapped inside assembled bottles, leaving parts unsterilized), overcrowding the sterilizer (steam or boiling water needs to reach all surfaces — leave space between items), using too-high heat for plastic (boiling plastic bottles for longer than 5 minutes can warp them and increase leaching — use the minimum effective time), recontaminating after sterilization (touching sterile items with bare hands, drying on unclean towels, or storing in unsealed containers), and using expired or contaminated sterilization solution (cold water tablets expire — check the date, and change the solution every 24 hours). Follow the manufacturer’s instructions for your specific bottles and sterilization method. When in doubt, the most reliable method is boiling for 5 minutes after thorough washing.
Sterilizing Pacifiers, Teethers, and Other Baby Items
Bottles aren’t the only items that need sterilization. Pacifiers should be sterilized before first use and then after each use for the first 3 months. After that, washing in hot, soapy water is sufficient unless they fall on a dirty surface. Teethers don’t need sterilization between uses unless shared between children — wash with soap and water. Breast pump parts should be sterilized after first use and then after daily use. Soft toys and fabric items can’t be boiled or steamed — wash in hot water with baby-safe detergent. Hard plastic toys can be wiped with disinfecting wipes and air dried. The key principle: anything that goes in your baby’s mouth needs to be cleaned before first use, then sterilized regularly for the first 3-4 months, then washed thoroughly after that.
Dishwasher vs. Hand Washing: Which Is More Effective?
Both methods can effectively clean bottles, but they have differences. Dishwashers: use higher water temperatures (140-155°F vs. hand washing at 100-110°F), which kills more bacteria, have a sanitize cycle option, are more consistent (machines follow a set cycle; humans vary), but may not clean inside narrow bottle nipples as thoroughly, and high heat can degrade plastic over time. Hand washing: more control over individual bottle parts, can scrub inside nipples with a dedicated brush, avoids high heat that damages plastic, but water temperature is limited by what your hands can tolerate, and effectiveness depends on technique. The best approach: hand wash in hot, soapy water with a dedicated bottle brush for daily cleaning, then use the dishwasher’s sanitize cycle once a week for deeper cleaning. Or, for plastic bottles that you don’t want to expose to high heat, hand wash and use a steam sterilizer after. Whichever method you choose, the most important step is thorough rinsing — soap residue can cause digestive upset.
Bottle Brushes: When to Replace
Your bottle brush is one of the most important cleaning tools — and one of the most commonly neglected. A worn bottle brush doesn’t clean effectively and can harbor bacteria. Replace bottle brushes: every 2-3 months (for daily use), immediately if bristles are frayed or bent, immediately if the brush develops an odor (signs of bacterial growth), after your baby has been sick (to prevent reinfection), and after the brush has been used with dirty diapers or other non-bottle items. Between replacements: rinse the brush thoroughly after each use, squeeze out excess water, and let it air dry completely (don’t store it wet in a cup or drawer). Microwave or dishwasher the brush weekly to sanitize it. Have at least two brushes — one for bottles and one for sippy cups/pacifiers — to prevent cross-contamination. A $5 bottle brush is not worth the risk of getting sick.
Sterilization and the Immune System: The Hygiene Hypothesis
Some parents wonder whether sterilizing bottles too thoroughly could prevent their baby’s immune system from developing normally. This is related to the “hygiene hypothesis” — the idea that reduced exposure to microbes in early childhood may contribute to increased allergies and autoimmune conditions. Current evidence shows that sterilizing bottles for the first 3-4 months does not increase allergy risk. The hygiene hypothesis applies more to environmental microbial diversity (living on a farm, having pets, playing outside) than to the short period of bottle sterilization. Once your baby is putting everything in their mouth (starting around 4-6 months), the limited period of bottle sterilization is irrelevant compared to the microbial diversity they’re exposed to from their environment. So sterilize with confidence for the first 3-4 months, then transition to thorough washing. You’re supporting your baby’s health both in the short term (preventing infection) and the long term (supporting immune development through environmental exposure).
References
- CDC infant and toddler nutrition
- FDA: infant formula guidance for parents
- AAP policy: breastfeeding and use of human milk (cited by name; link not accessible)
🩺 Doctor’s Take
If you remember one thing: sterilize for the first 3–4 months, then relax into thorough washing — bottles don’t need to be surgically sterile forever. Rinse right away, use a dedicated brush, and dry completely before reassembling. Choose the method you’ll actually do consistently; consistency beats gadgetry.
This article is general information, not individual medical advice. Every baby is different — talk to your own pediatrician about your child’s feeding, sleep, growth or development, and seek urgent care for breathing difficulty, poor feeding, dehydration, fever in an infant under 3 months, or any sudden change in your baby’s behaviour. When in doubt, call your doctor.
Medical review
Reviewed by Dr. Ahmad Raza, MD, Pediatrics. Last reviewed September 27, 2026. This article provides general education and does not replace individualized advice from your child’s pediatrician. Learn about our physicians on the About page.


2 Comments