Babyproofing for Newborns: The Room-by-Room Checklist
Medically reviewed by Dr. Ahmad Raza, MD (Pediatrics) — ChildBloom Medical Review Panel. Last updated: August 03, 2026.
Editorial & affiliate disclosure: our guidance is written and reviewed by clinicians. ChildBloom may earn a commission from qualifying purchases made through links on this page, which never changes what our pediatric reviewers recommend.
If you are searching for answers about babyproofing for newborns, you are in the right place. This pediatrician-reviewed guide explains what is normal, what the likely causes are, the red flags that mean you should call your doctor, and what you can safely do at home — all based on current AAP, CDC and NIH guidance on babyproofing for newborns.
Babyproofing can feel overwhelming — there are so many products and so much advice. As a pediatrician, I want to give you a clear, practical checklist organized by priority, so you can focus on what truly matters for safety. This guide covers room by room babyproofing checklist before newborn comes home to help parents make informed decisions.
Quick answer: Start with the hazards that kill or hospitalise: anchor furniture and TVs, remove blind cords, lock up medicines and cleaners, set the water heater to 120°F, and test smoke and CO alarms. Finish the room-by-room list by 5–6 months, before your baby becomes mobile.
When to Start Babyproofing

Furthermore, start babyproofing around 4–6 months — before your baby is mobile. Once they start rolling, scooting, or crawling, you won’t have time to catch up. The best approach is to do it in stages: first the nursery (when setting it up), then the rest of the house (before crawling starts), then a second pass once your baby is walking (the danger zone expands upward).
Priority 1: Life-Threatening Hazards
These are non-negotiable — address before bringing baby home or immediately after birth:
- Furniture anchoring: Secure all TVs, bookshelves, dressers, and heavy furniture to the wall. A tip-over can be fatal. This is the most commonly overlooked danger.
- Window blinds: Cut or tie up all blind cords. The looped cords can strangle a child in seconds. Use cordless blinds or a cord cleat to keep cords out of reach.
- Water safety: Never leave a baby unattended near any body of water — bath, pool, bucket, even a toilet. Set your water heater to 120°F (49°C) maximum to prevent scalds.
- Choking hazards: Identify and remove small objects — coins, batteries, buttons, marbles, pen caps, jewelry, and small toy parts. The rule of thumb: if it fits through a toilet paper tube, it’s a choking hazard.
- Medication and poison safety: Move all medications, vitamins, cleaning supplies, laundry pods, and household chemicals to high, locked cabinets. Install cabinet locks on lower cabinets.
- Smoke and CO detectors: Ensure working detectors on every floor. Test monthly. Replace batteries twice a year.
Priority 2: Injury Prevention
Address before crawling starts: For expert-reviewed guidance, the American Academy of Pediatrics offers reliable information on this topic.
- Corner guards: Soften sharp furniture corners and edges
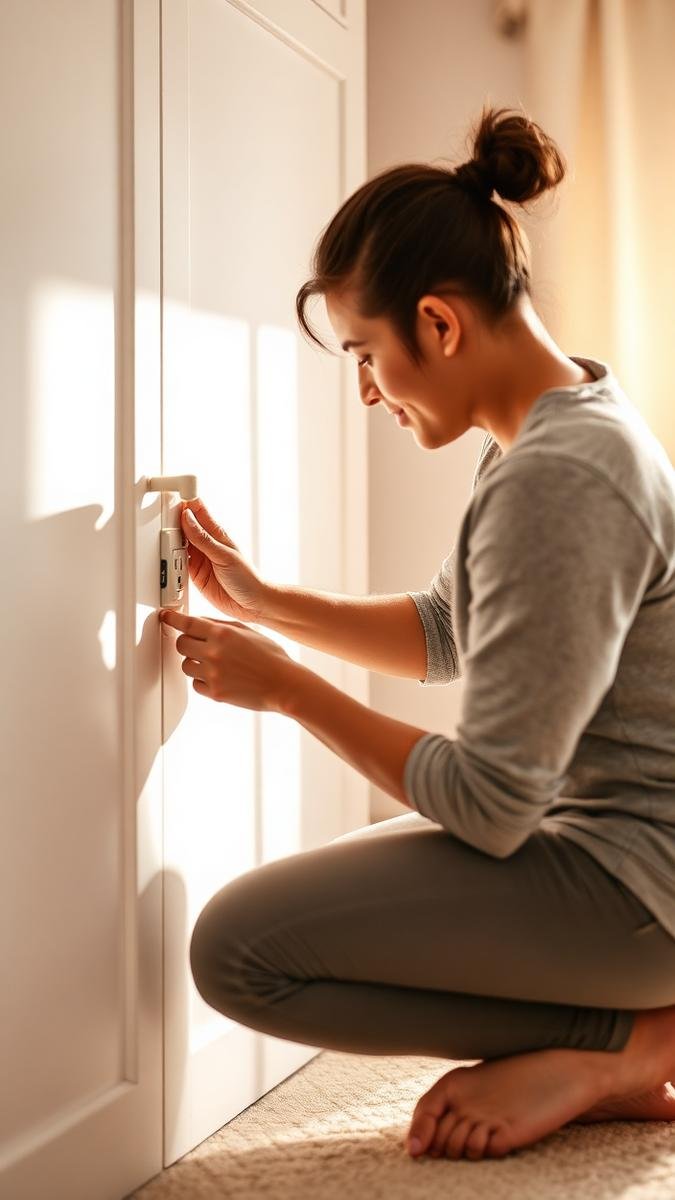
- Outlet covers: Use outlet covers on all unused outlets. Choose ones that require two motions to remove (slide + pry) — babies can pop simple plug covers out easily.
- Stair gates: Install gates at the top AND bottom of stairs. Top gate must be hardware-mounted (not pressure-mounted). Pressure gates are acceptable at the bottom.
- Door stoppers: Replace spring-type door stops (the small rubber tips that pop off) with one-piece door stops to prevent choking
- Cabinet locks: Install on all lower cabinets, especially those containing knives, glass, cleaning supplies, or plastic bags
- Stove guards: Install a stove knob cover and consider a stove guard to prevent reaching for pots
- Oven lock: Install an oven lock to prevent your child from opening the hot oven door
- Trash can: Use a child-proof trash can or keep it behind a locked cabinet
Priority 3: Room-by-Room Checklist
Nursery
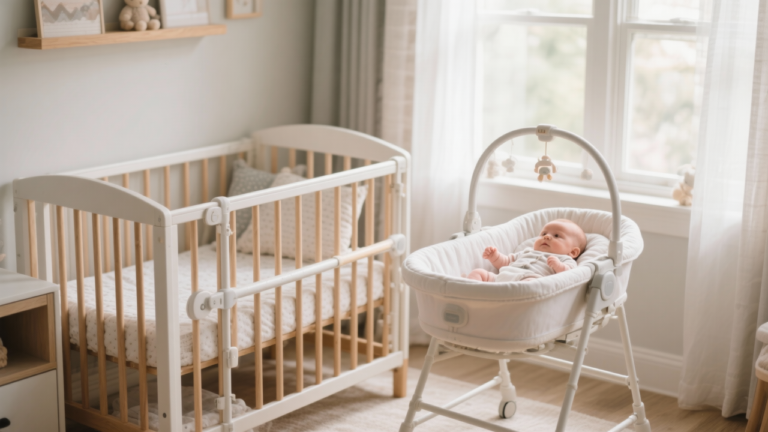
- Crib mattress at the lowest setting (once baby can pull to stand)
- No bumpers, pillows, blankets, or stuffed animals in the crib (SIDS risk)
- Dresser anchored to the wall
- Changing table with safety strap (never leave baby unattended)
- Cordless blinds
- Outlet covers on all outlets
- No mobiles or hanging toys within reach
Kitchen
- Cleaning supplies in high, locked cabinets
- Knives and sharp objects locked away
- Stove knob covers installed
- Pot handles turned inward when cooking
- Dishwasher locked when not in use
- Refrigerator magnets out of reach (choking hazard)
- Trash can secured or behind a locked cabinet
Bathroom
- Toilet lid lock installed
- Medications in locked, high cabinet
- Toiletries and cosmetics out of reach
- Non-slip bath mat
- Water temperature set to 120°F max
- Never leave baby unattended in bath — not even for a second
- Electric appliances (hair dryer, straightener) unplugged and stored
Living Areas
- Furniture anchored to walls
- TV mounted to wall (not on a stand)
- Corner guards on coffee tables and other sharp edges
- Area rugs secured with non-slip pads or removed
- Fireplace with a secure screen or gate
- Houseplants — ensure none are toxic; place out of reach
- Pet food and water bowls out of reach
- Electrical cords hidden or secured
When to Re-Babyproof
For example, babyproofing is not a one-time task. As your child grows, new hazards emerge. Do a safety pass when your baby: starts crawling (new hazards at floor level), starts pulling to stand (new hazards at grab height), starts walking (new hazards at higher levels), and around age 2 (when they become climbers and can reach higher). Also update after holidays or birthdays — new gifts and decorations often introduce new hazards.
What NOT to Buy: Babyproofing Products to Avoid
- Seated baby walkers: Banned in Canada, associated with falls and injuries. Use stationary activity centers instead.
- Mesh crib bumpers: Still a suffocation risk, despite being “breathable.” The AAP recommends no bumpers of any kind.
- Baby neck floats: Not FDA-approved for safety. Use a properly fitted life jacket for water.
- Positional sleepers and inclined sleepers: Linked to infant deaths. Only flat, firm surfaces are safe for sleep.
- Drop-side cribs: No longer sold legally in the US. Replace if you have an older one.
Frequently Asked Questions
When should I start babyproofing?
Start well before your baby is mobile — around 4–6 months. The best time is when you set up the nursery. Do a second pass before crawling starts (around 6–8 months) and a third pass when your baby starts walking.
Do I need to babyproof everything?
Focus on the rooms your baby will actually access. You don’t need to babyproof a formal living room you never use. But the nursery, kitchen, living area, bathroom, and any room where your baby spends time should be fully babyproofed.
How do I babyproof without making my home look like a fortress?
As a result, many babyproofing products are now designed to be discreet. Choose clear outlet covers, furniture anchors that hide behind furniture, and magnetic cabinet locks (installed inside the cabinet). A little effort goes a long way in maintaining your home’s aesthetic while keeping your baby safe.
Poison Prevention: What Every Parent Should Know
Poisoning is one of the most preventable childhood injuries. Key prevention strategies include: keeping all medications (including vitamins and supplements) in child-resistant containers stored high and locked, keeping cleaning supplies in original containers (never transfer to food containers), knowing the names of all household plants (many are toxic — philodendron, pothos, peace lily, oleander, and poinsettia are common toxic plants), keeping button batteries (watch batteries) secured — they cause severe internal burns if swallowed, storing laundry pods in locked cabinets (they look like candy to toddlers), programming Poison Control (1-800-222-1222) into your phone, and keeping activated charcoal or syrup of ipecac — these are no longer recommended.
If you suspect a poisoning, call Poison Control immediately. Do not induce vomiting unless instructed.
Outdoor Safety: Sun, Bugs, and Plants
In addition, as your baby explores the outdoors, add these to your safety checklist: sun protection (SPF 30+ mineral sunscreen for babies 6+ months; for younger babies, use shade, hats, and protective clothing), insect repellent (DEET 10-30% is safe for babies 2+ months; use sparingly and wash off when indoors), check for poisonous plants in your yard and remove them, supervise all outdoor time, check play equipment for sharp edges, splinters, and rust, ensure sandboxes are covered when not in use (to prevent animal contamination), and never leave your baby unattended near any water source, including ponds, pools, and buckets.
The Bottom Line
Babyproofing is not about bubble-wrapping your child — it’s about removing preventable hazards so your baby can explore safely. Focus on the life-threatening dangers first (furniture anchoring, water safety, choking hazards), then work through the room-by-room checklist. Remember that no product replaces adult supervision. Babyproofing reduces risk; it doesn’t eliminate it. Stay vigilant, and enjoy watching your baby explore their safe environment.
Emergency Preparedness
In addition to babyproofing, prepare for emergencies: program emergency numbers into your phone (pediatrician, poison control 1-800-222-1222, local ER), learn infant CPR and the Heimlich maneuver for choking, post emergency numbers visibly in your home, keep a well-stocked first aid kit (including infant acetaminophen/ibuprofen, a digital thermometer, bandages, antibiotic ointment, and saline drops), have a fire escape plan and practice it, and keep a car emergency kit. Knowing what to do in an emergency is just as important as preventing injuries. Take an infant CPR class — it could save your baby’s life.
Water Safety: The Critical Rules
Specifically, drowning is the leading cause of death in children ages 1-4. The rules are simple and non-negotiable: never leave a child unattended near any water — not even for a second. This includes bathtubs, pools, ponds, buckets, and toilets. Empty all buckets and containers immediately after use. Keep bathroom doors closed and toilet lids locked. Install pool fencing with a self-closing, self-latching gate. Enroll your child in formal swimming lessons starting at age 1 (research shows this reduces drowning risk). Learn CPR. And remember: drowning is silent — there’s no splashing or screaming like in the movies.
Babyproofing is about creating a safe environment for your child to explore, learn, and grow. It’s not about wrapping your home in bubble wrap — it’s about removing preventable hazards so your baby can satisfy their natural curiosity without serious risk. Start early, prioritize the life-threatening dangers first, and update your safety measures as your child grows. Most importantly, remember that no product replaces active supervision. You are your baby’s best safety device.
Travel Safety for Babies
Traveling with a baby requires extra safety precautions. In the car: use a rear-facing car seat in the back seat (never the front), ensure the harness is snug (you can’t pinch any webbing at the collarbone), never use aftermarket car seat accessories (not crash-tested), and take breaks every 2 hours for newborns.
Additionally, on airplanes: the AAP recommends a car seat on the plane (not gate-checking it), breastfeed or bottle during takeoff and landing to help with ear pressure, bring extra clothes and diapers in your carry-on, and keep medications and first aid supplies accessible. At hotels: check the room for hazards (uncovered outlets, loose cords, accessible cleaning supplies), request a crib or pack-n-play, and never leave your baby unattended on a hotel bed (falls from hotel beds are common).
Secondhand Smoke and Baby Safety
Exposure to secondhand smoke is a serious health risk for infants. It increases the risk of SIDS, respiratory infections, asthma, ear infections, and slowed lung development.
If you or your partner smoke: smoke only outside and away from doors and windows, wear a “smoking jacket” that stays outside and change clothes before holding the baby, never smoke in the car (even with windows down), and don’t allow others to smoke near your baby or in your home. The best thing you can do for your baby’s health is to quit smoking. Talk to your provider about resources to help you quit.
Carbon Monoxide and Smoke Detectors
However, smoke and carbon monoxide detectors are your home’s most important safety devices. Install smoke detectors on every level of your home, inside each bedroom, and outside each sleeping area. Install carbon monoxide detectors on every level and near sleeping areas. Test all detectors monthly. Replace batteries twice a year (a good reminder: when daylight saving time changes). Replace the entire detector unit every 10 years. If an alarm sounds, evacuate immediately and call 911 — never assume it’s a false alarm. Smoke and CO detectors save lives. This is the single most important babyproofing investment you can make.
Babyproofing can feel overwhelming, but you don’t have to do it all at once. Start with the life-threatening hazards: furniture anchoring, water safety, choking hazards, and poison prevention. Work through the room-by-room checklist gradually. And remember: the best safety device in your home is an attentive, informed parent. Your presence and supervision are irreplaceable.
Babyproofing is an act of love. By creating a safe environment for your baby to explore, you’re giving them the freedom to learn, grow, and satisfy their natural curiosity without unnecessary risk. Start with the essentials, work through the checklist room by room, and update as your child grows. And remember: no product replaces supervision. You are your baby’s best safety device — stay present, stay aware, and enjoy watching them explore their world.
Moreover, Read more: baby proofing checklist crawling stage room
This content is for informational purposes only and does not substitute professional medical advice or safety guidance. Always follow current safety recommendations from the AAP and CPSC.
Clinical Pearl: What the Research Actually Says
One of the most valuable skills a parent can develop is the ability to evaluate health information critically. In the age of social media and parenting influencers, misinformation about child health spreads faster than evidence-based guidance. When you encounter a new parenting recommendation — whether about sleep, feeding, development, or safety — ask yourself three questions: Who is making this recommendation and what are their credentials? Is the recommendation supported by peer-reviewed research or is it based on anecdote and tradition?
Furthermore, does the recommendation align with guidance from major medical organizations like the American Academy of Pediatrics, the Centers for Disease Control and Prevention, or the World Health Organization? If a recommendation contradicts established medical guidance, it should be viewed with skepticism, regardless of how compelling the testimonial may be. When in doubt, bring what you have read or heard to your pediatrician. We are trained to help you separate evidence from anecdote and to make decisions that are right for your individual child.
Related: baby proofing checklist crawling stage room by room
Related safety guides: choking hazards for babies, safe co-sleeping and sleep setup, and newborn essentials that actually matter.
Babyproofing for Newborns: quick pediatrician summary
Most of the time this is a normal newborn or infant variation that settles on its own, and the job of a parent is to know the small number of red flags that change the plan. Watch feeding, breathing, alertness and wet diapers — those four tell you more than the symptom itself. Call your pediatrician the same day for fever in a baby under 3 months, laboured or fast breathing, refusal to feed, fewer wet diapers, unusual floppiness or sleepiness, or a symptom that is clearly getting worse rather than better.
Common mistakes parents make
- Treating a single measurement or one bad day as a trend instead of watching the pattern over several days.
- Trying several remedies at once, so it becomes impossible to tell what helped.
- Waiting for a convenient time to call when a red flag is already present — feeding, breathing and alertness changes are always worth a same-day call.
- Following advice from an unsourced social post rather than your own pediatrician, who knows your child’s history and growth curve.
Related guides from our pediatric team
- Newborns smile: When Do Newborns Smile? Reflex vs Social Smile
- Signs of Dehydration in Babies: Red-Flag Checklist for Parents
- Newborn Home Environment: Temperature, Air Quality, and Alarms
- Safe Babywearing for Newborns: The TICKS Rule and Carrier Choice
- More expert answers in Pediatrician’s Corner
References and further reading
- AAP HealthyChildren: symptoms & when to call the doctor
- CDC child health & development
- NIH MedlinePlus infant and newborn care
Medical disclaimer
This article is for general education and is not a substitute for individual medical advice, diagnosis or treatment. Every child is different — talk to your own pediatrician about your baby, and seek urgent care for breathing difficulty, poor feeding, dehydration, unusual sleepiness, fever in an infant under 3 months, or any sudden change in your child’s condition.



3 Comments